Masa Madre baker Lucia Meneses came up with this step-by-step recipe for foolproof yeast bread.
Instructions
Step 1: Combine flour, yeast and salt in a large bowl using a whisk or your hands. See left.
Note: Both instant yeast and active dry yeast come in similar small packets and it’s easy to confuse them or assume they are interchangeable. Active dry yeast needs to be hydrated or “activated” with a little bit of warm water and sugar or honey before being mixed into dough. Instant yeast, on the other hand, is “instantly” ready to use and requires no prior hydration. This recipe calls for instant yeast, but you can substitute active dry yeast if that’s all you have.
Step 2: Add the water. Mix with your hands until the dough comes together. Let it rest at room temperature for about 20 minutes, which makes your dough much easier to knead later.
Step 3: Knead your dough using the “slap and fold” technique. See left. Note: At first, the dough might stick to the table a bit. That’s normal. Resist the temptation to add more flour! You want it to stick to the surface a bit because that helps create tension, which helps strengthen the dough. As the gluten develops with more slaps and folds, the dough will be less sticky. It’s not how hard you hit the table. Let the dough hang in mid-air and stretch. This technique is useful when handling a wet dough.
Step 4: Place kneaded dough back in the mixing bowl, cover with a kitchen towel, and let it rest for 1-1½ hours at room temperature. It should just about double in size.
Tip: This depends on the room’s temperature. If it’s warm, it’ll grow faster. If it’s cool, it may take longer. Don’t speed things up by placing your dough in a very warm spot. Allow the flavor to develop slowly.
Step 5: Take your risen dough and place it in the fridge for a minimum of 3 hours or overnight.
Note: This step drastically slows down any yeast activity because it’s so cold, but you get more complex flavor out of a dough that has been rising or “proofing” in the fridge for hours. You can mix and knead in the morning, pop it in the fridge in the afternoon, and bake the next morning. Or mix and knead in the afternoon, refrigerate in the evening, and bake for dinner the next day.
Step 6: First, prepare your loaf pan by greasing it with olive oil. Shape your dough. See left.
Step 7: Let the shaped dough rest at room temperature for 2-4 hours (again, depending on the temperature of the room). It should rise about 2 inches, but not rise so much that it flops over the edges.
Tip: Poke the dough. If it springs back quickly, it needs more time. If the dough holds the shape of your finger for more than a few seconds, then it’s ready to bake.
Step 8: Preheat oven to 475 degrees with the oven rack in the middle. Dust flour over the top of your loaf and cover with a sheet of aluminum foil. Leave some space between the dough and the foil because it will expand as it bakes. Bake covered for 20 minutes. Then remove the foil and continue to bake for another 15-25 minutes or until the crust is golden brown. Let it cool for at least 30 minutes.
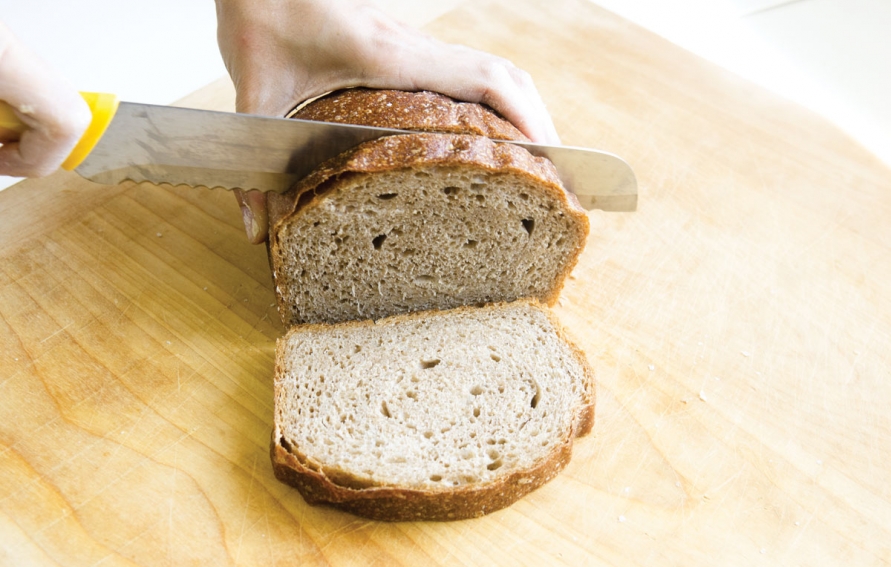
Tip: When you remove your baked loaf from the pan and tap it on the bottom, it should sound hollow. That’s how you know it’s done!